> ## Documentation Index
> Fetch the complete documentation index at: https://docs.poble.com.au/llms.txt
> Use this file to discover all available pages before exploring further.
# Add Your Logo & Banner
> Upload company branding for the header and sign-in page.
Manage your company logo and banner from the **Business** tab in **Company Settings**.
## Add Your Logo & Banner
Select **Company Settings**, open **Business**, and find **Images**.
Use the upload control under **Logo Image**. The screen specifies a **1:1** image ratio and explains that the logo appears in the top-left corner of the header.
Use the upload control under **Banner Image**. The screen specifies a **3:1** image ratio and explains that the banner is used on the sign-in page.
Check both image previews and apply any changes using the controls available on the page.
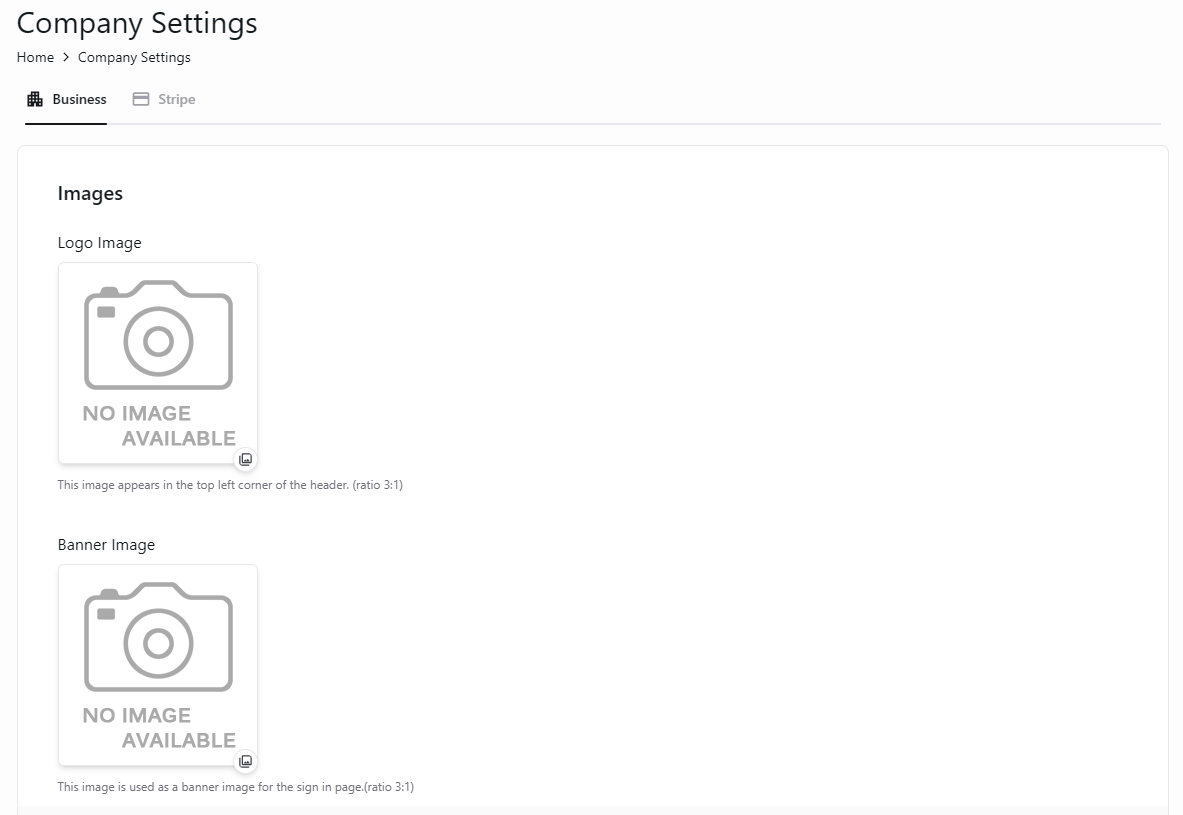 Use a square logo and a wide banner so each image fits the ratio shown in the settings.
## Related guides
* [Update company details](/poble-manual/company-settings/update-company-details)
This documentation is built and hosted on [Mintlify](https://mintlify.com), a developer documentation platform.
Use a square logo and a wide banner so each image fits the ratio shown in the settings.
## Related guides
* [Update company details](/poble-manual/company-settings/update-company-details)
This documentation is built and hosted on [Mintlify](https://mintlify.com), a developer documentation platform.